


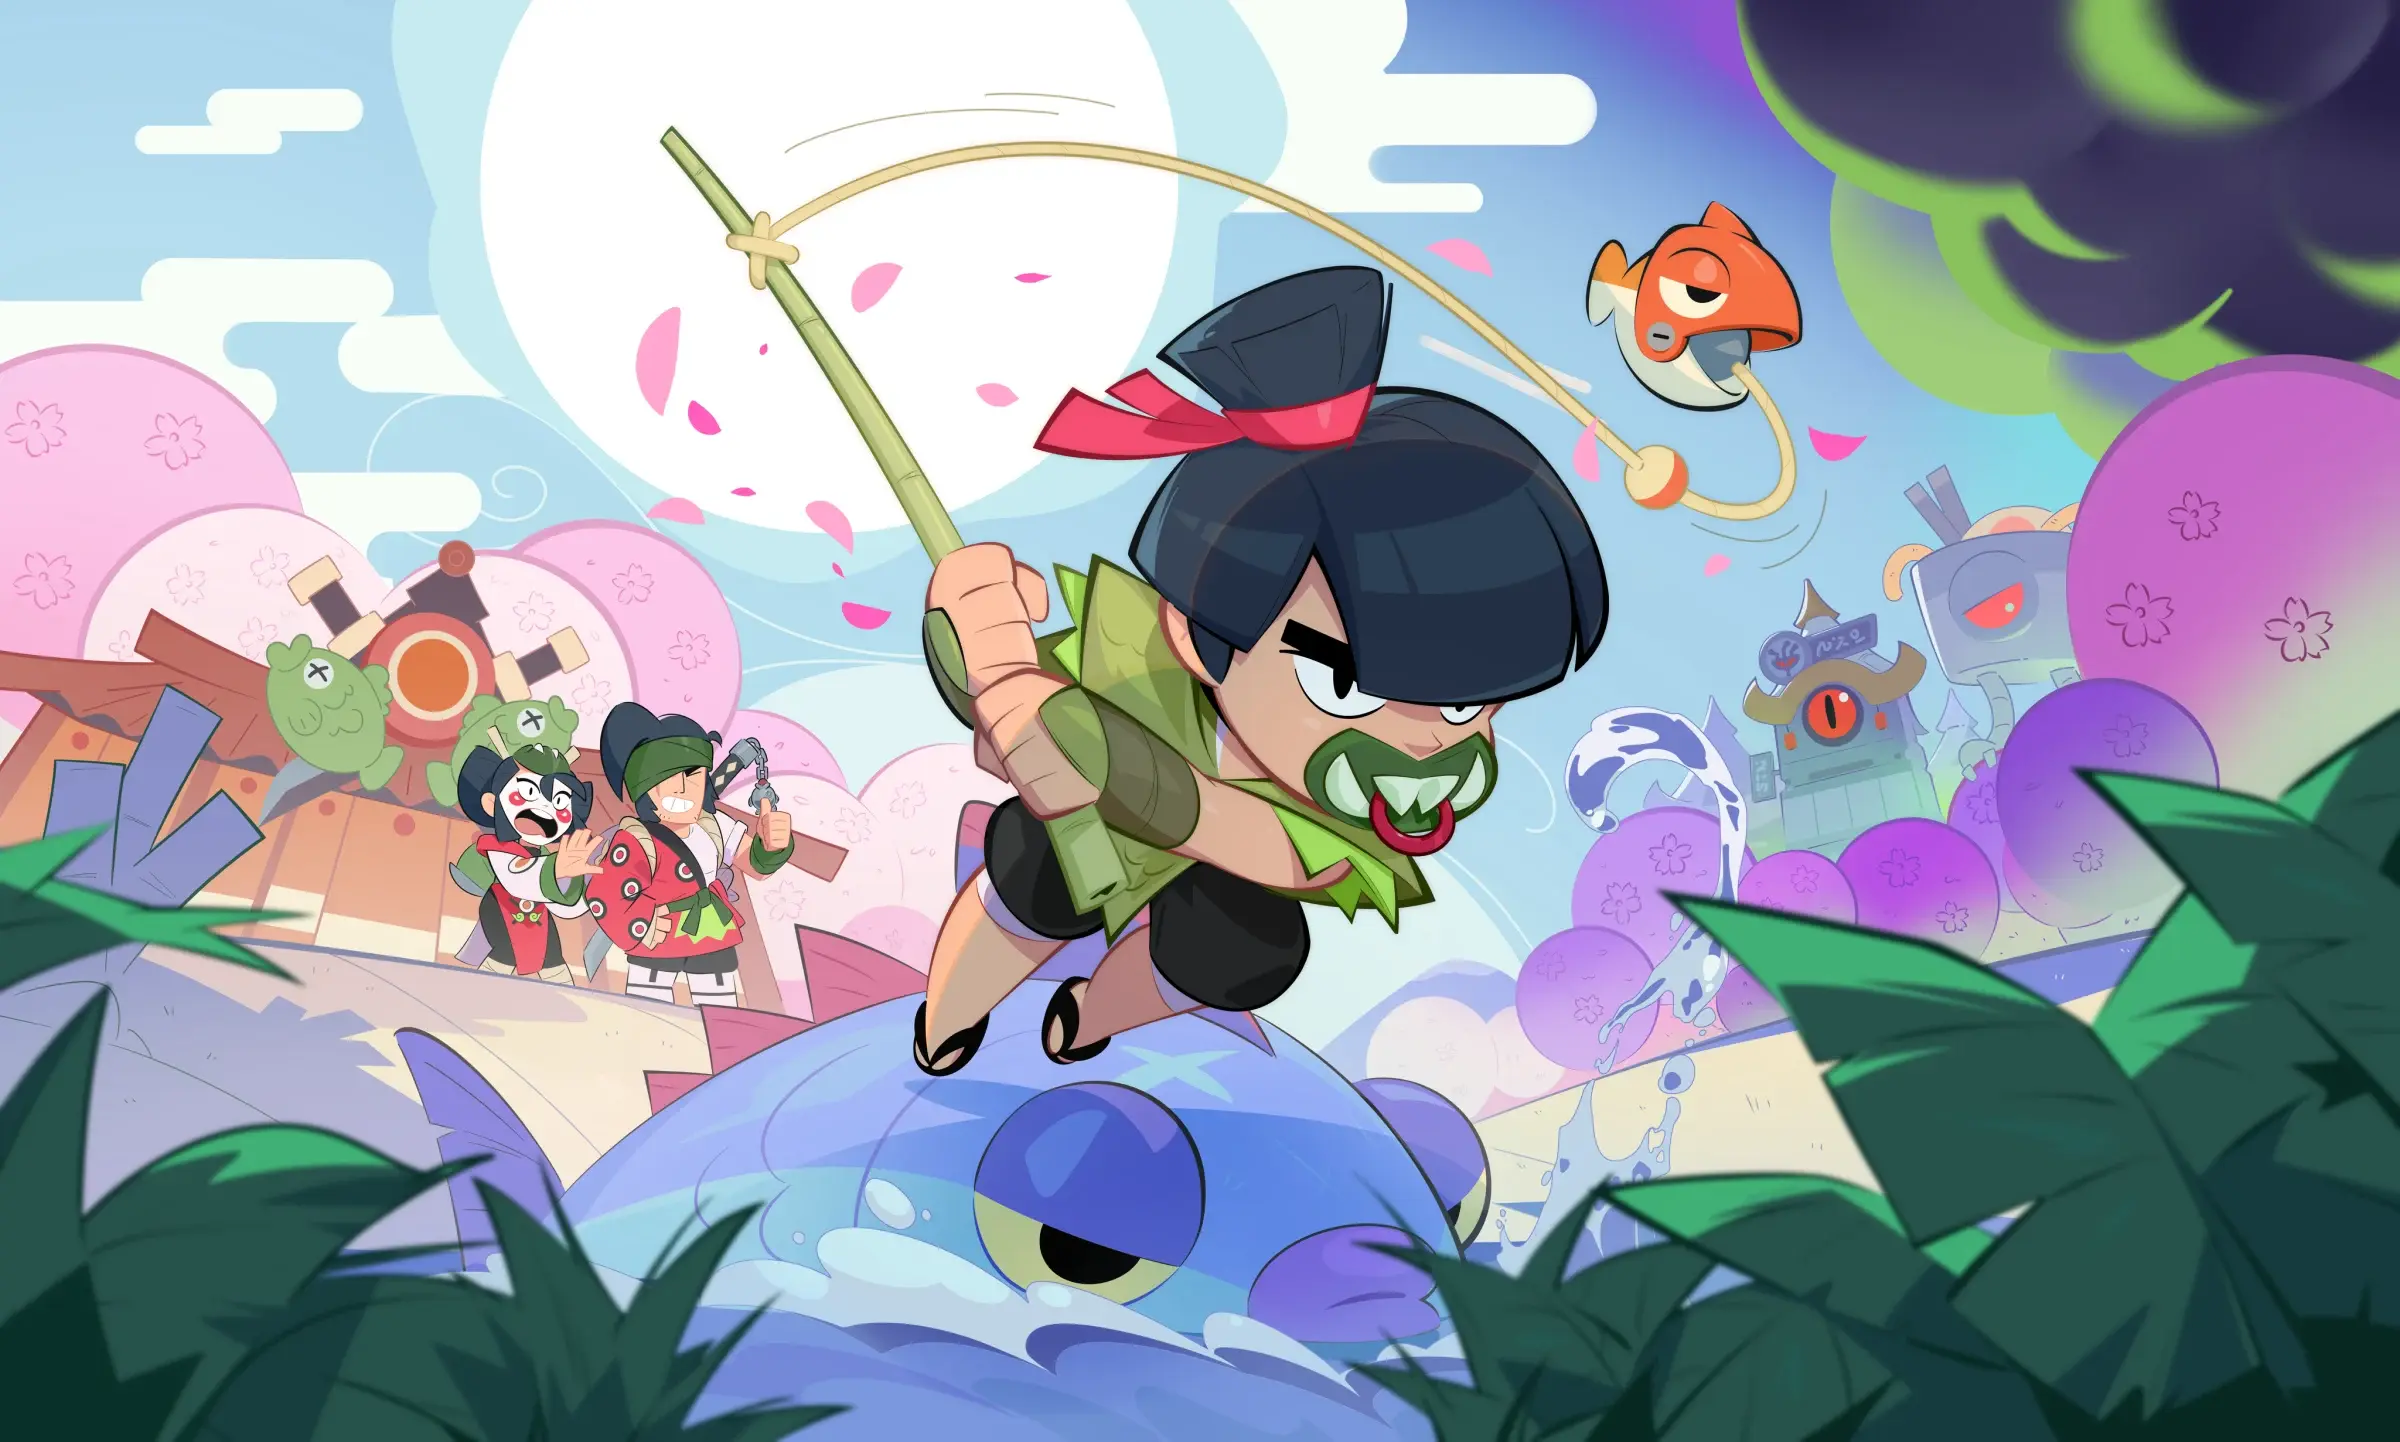
At the time of writing, it has been one day since Nori entered early access, and we're here to share our first thoughts on him.
Best Loadout
After extensive testing, we've determined that Nori continues the recent trend of Brawlers releasing with multiple viable choices in their kit. At first glance, his number one loadout might look like a no-brainer. Thankfully, that isn't actually the case.
We'll start with Nori's Gadgets, where the choice between Sushi Snack and Gonna Need A Bigger Net is very real. The first one, being his only sustain option, might seem like an easy pick. The second one, which roots an enemy and deals damage, is a solid contender too.
In our experience, the Gadget choice mostly depends on the mode and the matchups Nori is facing. Playing him in Bounty or against damage dealers calls for Sushi Snack. The Net is the better choice when you need to shut down the enemy team's escape options, or, more simply, when you're playing into assassins. Bolt is the biggest example. Without the Net, Nori is almost defenseless against him.
Unfortunately, the Star Power choice is much less interesting. Big Haul is a very welcome improvement to Nori's Super, while His Mother's Son can barely be felt in actual gameplay.
Last but not least, we have to talk about gears, which surprisingly move away from the standard assassin pairing of Shield and Damage. Because Nori can't heal while charging his main attack, much like Angelo, he is a prime candidate for the Health gear.
The second slot is mostly a matter of preference. Shield and Damage both work well. We primarily used Shield during testing, but the two are close enough that the mode can make the decision for you. In a power match, take Damage in Heist and Shield everywhere else.
Gameplay: How Do You Deal Damage With This Guy?
One thing to understand about Nori is that his skill floor sits somewhere around Kaze's. His gameplay pattern demands solid mechanics, and most of that complexity comes from his main attack, Fishing Fury.
The attack works a bit like Angelo's, with the ammo bar representing its charge. What makes Nori unique is that the charge level changes the attack itself.
With no charge, which you can also get by tapping auto-aim, Nori slashes in the direction you're aiming, similar to Kenji. The slash has a long cooldown before it can be used again, making it ineffective for dealing sustained damage in a one-on-one fight. It is, however, the only version of the attack that properly pierces enemies or peeks around corners. That makes it the best way to collect fish. You can't spam it, but sneaking in a slash whenever possible is important.
Charging the attack turns the slash into a Buzz-like hook. The longer you hold it, the farther it travels. This gives Nori incredible map mobility, but it is also his primary way to fight a single enemy.
The hook deals damage twice, once when it connects and again when Nori collides with the target. That adds up to the same damage as the slash, but with a shorter delay before the next attack. The hook also puts Nori behind the enemy, similar to Lily's Super. That creates a lot of outplay potential. He can dodge attacks with longer animations, like 8-Bit's, and completely disorient enemy snipers.
Just remember that, like Buzz, Nori is not immune to crowd control or damage while hooking. Be careful not to throw yourself into a stun.
At maximum charge, the hook gains one more effect. It doesn't change how it works against Brawlers, but it completely changes Nori's movement. A fully charged hook lets him jump over walls like Mico. That makes him devastating into throwers and a nightmare on closed maps where teams have to fight for control, such as Dueling Beetles or Triple Dribble.
Thankfully, Nori's Super, Catch Of The Day, isn't nearly as complicated. Think of it as a new take on Kenji's Hypercharge: Nori deals damage in a circular area and teleports to the center.
Catch Of The Day scales in both size and damage with the number of fish Nori has collected, capping at ten. At maximum fish, the Super reaches a diameter of seven tiles and becomes excellent at blocking an enemy's path. Because there is a small delay between casting it and the attack landing, its main purpose is taking space and creating pressure.
That becomes much easier with the Net Gadget, which lets Nori consistently trap enemies inside the Super. Be careful with the order, though. Using the Gadget and Super incorrectly can cancel the Super. Nori's hitbox also lingers briefly after he disappears into the puddle, which can cause him to take unavoidable damage. Make sure you're healthy before going in.
To summarize his gameplay pattern, Nori wants to chain barely charged hooks into an enemy and sneak in slashes whenever possible. His Super can work as an escape, but its main purpose is stopping enemies from running away and hopefully letting the summoned fish take a bite. Use the Gadgets whenever you can, either healing in a pinch or rooting a target that tries to escape.
Matchups
Because Nori is so mechanically demanding, many of his matchups become a mechanics check. Nani is one of the clearest examples. The fight often comes down to whether Nori can close the gap with enough health and time his hook well enough to avoid getting auto-aimed immediately afterward.
Bibi is a less extreme but more practical example. Nori has to time his hooks consistently because getting knocked back even once can lead to a very quick death. That makes it difficult to judge exactly what Nori wins or loses against reliably, with a few important exceptions.
The first is Bolt, who has a winning matchup into Nori. It isn't impossible to outplay. A few slashes followed by a well-timed Net and hook can get the job done. Whenever the Net is unavailable, though, Nori becomes a sitting duck. He can't hook through Bolt while Bolt is rolling. Nori takes damage when they collide mid-hook and will often take another hit immediately after the knockback. Yikes.
On the other side, Nori dominates throwers. Even Juju, Sirius, and the twins struggle badly into him. Dodging one shot with the hook is often enough to guarantee the interaction. Other notable winning matchups include Emz and similar midrange Brawlers. Nori closes the gap so quickly that they struggle to deal consistent damage before he reaches them.
In general, Nori's interactions come down to the enemy's close-range damage output and how easy that damage is to avoid. Strong mechanics can make up for a lot. That makes Nori an excellent hard-carry option because his effectiveness scales directly with the player's skill. Combined with his versatility, he is a fantastic last resort in solo queue when the only remaining win condition is a serious outplay.
Modes and Maps
Nori is versatile and skill-dependent enough that saying he works on most maps and modes is like saying a fork belongs in the kitchen. It's true, but it doesn't tell you much.
From our testing, his best modes are Hot Zone, Heist, and Bounty.
In Hot Zone, Nori gets to fully use his movement and damage. His job is often to kill anyone trying to enter a zone that his teammates already control.
In Heist, the plan is much simpler: rush the safe and chain hooks through it. His damage output is comparable to Kaze's, so leaving Nori alone on the safe is a fast way to lose.
In Bounty, Nori can be one of the quickest Brawlers to reach the blue star when the map allows it. That alone gives him a niche. The Brawlers commonly played in Bounty also tend to struggle into Nori, so his mobility lets him play aggressively instead of only racing for the opening star.
Brawl Ball and Gem Grab are both viable too, and they generally play like Hot Zone. The difference is that those modes punish Nori's deaths much more heavily. Even a small mistake can throw away the pressure he created.
The one mode where we would not recommend Nori is Knockout. Unlike Lily, his kit doesn't let him sneak up on enemies. That makes him dependent on finding a chance to pop off in the endgame. It can work on maps such as Flaring Phoenix, but the typical Knockout layout does not fit his hook nearly as well.
Viability, Early Meta Predictions, and Final Thoughts
Putting Nori on a tier list is difficult. A subjective ranking will often say more about the player's ability to use him than Nori's actual strength.
For our tier list, we're placing him at the bottom of S tier. That could change once he becomes available in Ranked and starts seeing serious scrim play, but it feels fair at this early stage. Nori is extremely strong, but he is not a Brawler that anyone can pick up and immediately master. For most of the community, that learning curve will be the deciding factor.
If you're ready to put the theory into practice, check out our Nori build and counter guide.
If PLP helps you with ranked, drafts, guides, or staying connected with the Brawl Stars community, you can support the project by using Code: Prodigy in the Brawl Stars shop. It costs you nothing extra and helps us keep building tools, content, and community events.